Getting your water tank base preparation right is just as important as choosing the right tank itself. A full tank can weigh many tonnes, so the base must be solid, level, and well compacted.
Why a Strong Base Matters
A proper rainwater tank foundation:
- Spreads the weight evenly so the tank doesn’t lean, bulge or crack.
- Reduces safety risks from a shifting or unstable tank.
- Supports long-term performance and helps meet Polymaster tank installation requirements.
Most problems with tanks can be traced back to a poor base, so it’s worth spending extra time choosing and preparing the best base for a water tank.
Different Water Tank Base Options
Crusher Dust
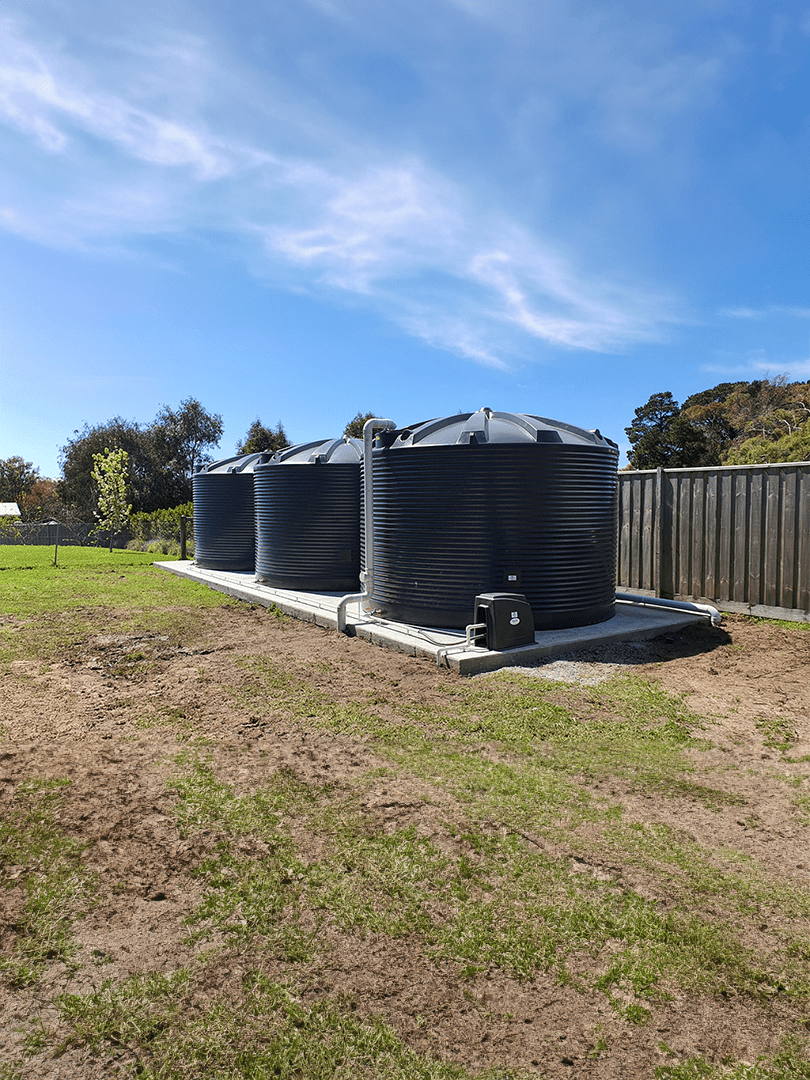
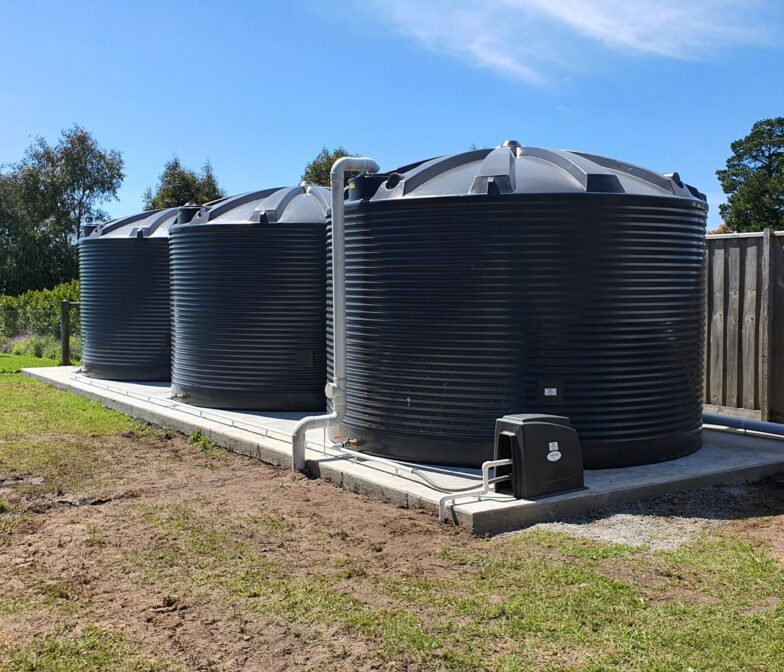
A compacted crusher dust water tank base is a popular choice for round poly tanks. Crusher dust binds tightly when compacted, creating a smooth, stable pad. Box the area in with edging (such as sleepers or concrete) to stop material washing away, then spread A-grade compactable material that’s free from rocks or sharp objects and compact it until flat and level.
Reinforced Concrete
A concrete slab for a water tank installation is ideal for slimline tanks and larger capacities. A reinforced slab provides a hard, stable surface that won’t move under load. Set up formwork larger than the tank footprint, pour a suitable thickness slab (following local requirements and Polymaster’s recommendations), finish it level and allow it to cure fully before placing the tank.
Pavers and Other Surfaces
Pavers can work for small tanks if they’re laid on a properly compacted, level base and locked in so they don’t move. They’re best suited to smaller slimline water tanks for homes, not large round tanks. For bigger rainwater storage solutions, crusher dust or concrete is usually more reliable.
Whatever base material you choose, the key is a flat, solid surface that fully supports the base of the tank.
Step-by-Step Installation Guidance
Here’s a simple poly tank installation guide for the base itself (always follow Polymaster’s full instructions as well):
Step 1: Choose the location
- Close to downpipes and plumbing where practical.
- Clear of tree roots, sharp rocks and buried services.
- With enough space for a base at least 600mm wider than the tank.
Step 2: Prepare and level the ground
- Remove turf, soft topsoil, roots, rocks and debris.
- Cut into the ground rather than building the base up on a mound where possible. This reduces erosion risk and improves rainwater tank support.
Step 3: Lay your base material
- For crusher dust or gravel: spread A-grade compactable material to the recommended depth, making sure it’s free of sharp objects that could damage the tank.
- For concrete: set up formwork and reinforcement, then pour and trowel to a smooth, level finish.
Step 4: Compact and check levels
- Use a mechanical compactor or hand tamper to thoroughly compact the material. Lack of compaction is one of the biggest causes of base failure.
- Check with a spirit level in multiple directions to ensure the rainwater tank installation base is completely flat.
Step 5: Consider drainage and erosion
- Ensure overflow pipes are directed away from the base so water doesn’t scour material from underneath.
- Use edging or a retaining wall to keep the base material in place and stop washout from rain, vermin or vehicles.
Once your base is ready, you can move on to how to install rainwater tank plumbing, using a flexible hose off the outlet, supporting pipework off stands, and securing the tank as per Polymaster’s instructions.
Common Mistakes to Avoid
Even well-intentioned DIY jobs can go wrong if you overlook the basics:
- Sloping or uneven ground: A base that “looks close enough” but isn’t truly level will almost always cause issues as the tank settles.
- Weak or undersized foundations: A small pad or uncompacted soil will sink or move under the weight of a full tank. Remember, every 1,000L is roughly 1 tonne.
- Placing tanks straight on soil: Bare soil can soften, erode and rut over time, particularly in wet conditions.
- No edge or retaining support: Without a boundary, crusher dust or sand can wash away, leaving the tank sitting on an uneven rim.
- Ignoring manufacturer instructions: For Polymaster tank installation, failing to follow base requirements can void your warranty and shorten the life of your tank.
Avoiding these pitfalls is one of the most important water tank installation tips you can follow.
Final Thoughts
A properly prepared base is the foundation of a safe, long-lasting poly tank foundation. By investing a little extra time in your water tank base preparation, you help your Polymaster rainwater tank perform as it should for years to come.
Refer to Polymaster’s rainwater tank installation guide and explore their range of Australian-made water tanks to find the right solution for your property.
Enquire
More Similar News
View all News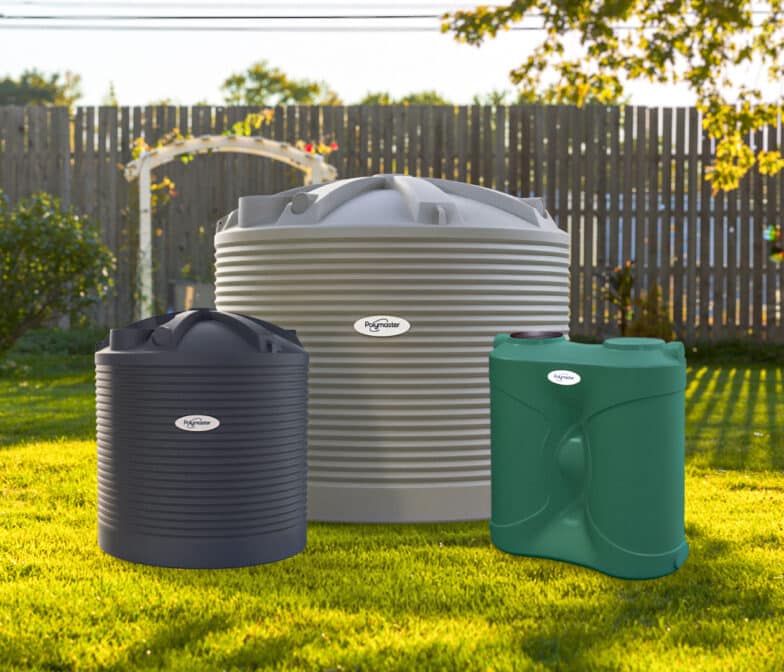
Water Tank Sizes
How Long Will 10,000 Litres of Water Last?