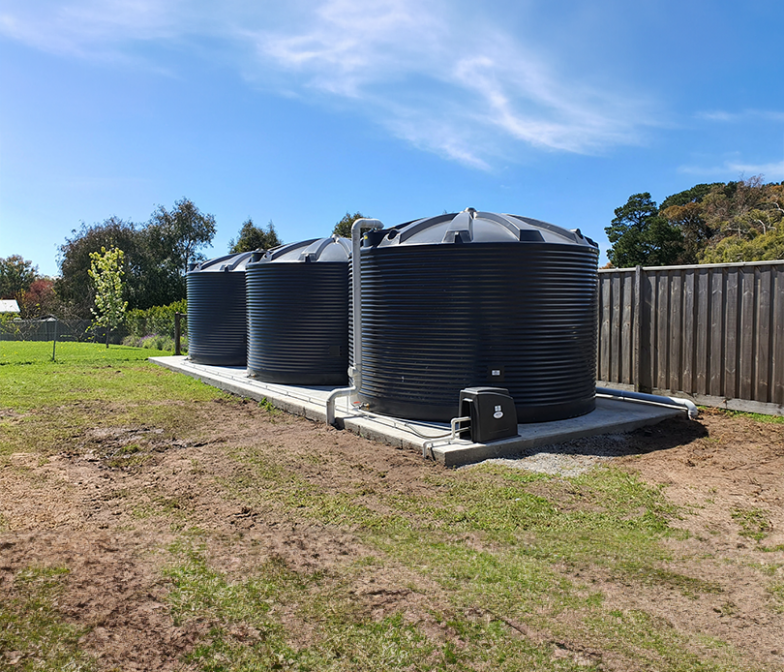
Imagine taking control and building your own personal water tank!
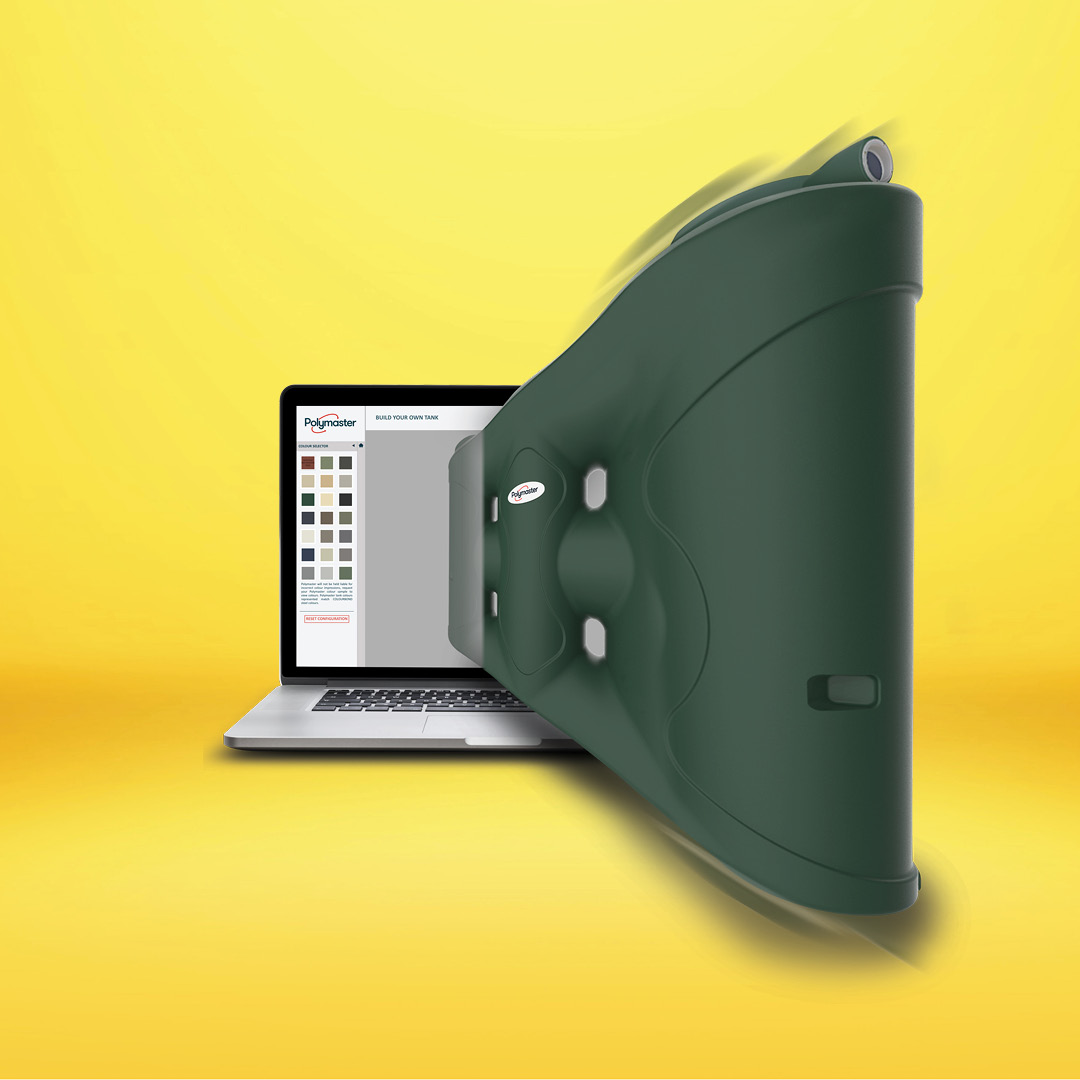
Well… we’re putting you in the driver’s seat, so you control the build of your next tank. We have made it easy for you with our innovative and intuitive 3D modelling software. You can now quickly get ‘up close & personal’ with your tank online. Through our specialised software, you can now see your tank, look at it from every angle, change its colours, position all your fittings and even add-on critical accessories that will keep your water fresh and clean.
And, when you’ve created your masterpiece you can download the exact specifications of your tank including a colour image of it and its cost. How cool is that? It’s so easy. Even ‘Phil’ can use it (and he’s not that flash when it comes to technology).
It’s online, and it’s FREE.
Give it a try today – Build-Your-Own-Tank
Step 1 – Choose your Tank
Here you can scan through the HUGE range of tanks we have available including:
- Round – Corrugated style tanks
- Round – Smooth-walled style tanks
- Slimline – tanks that fit even in the tightest spot beside the house
- Underground tanks
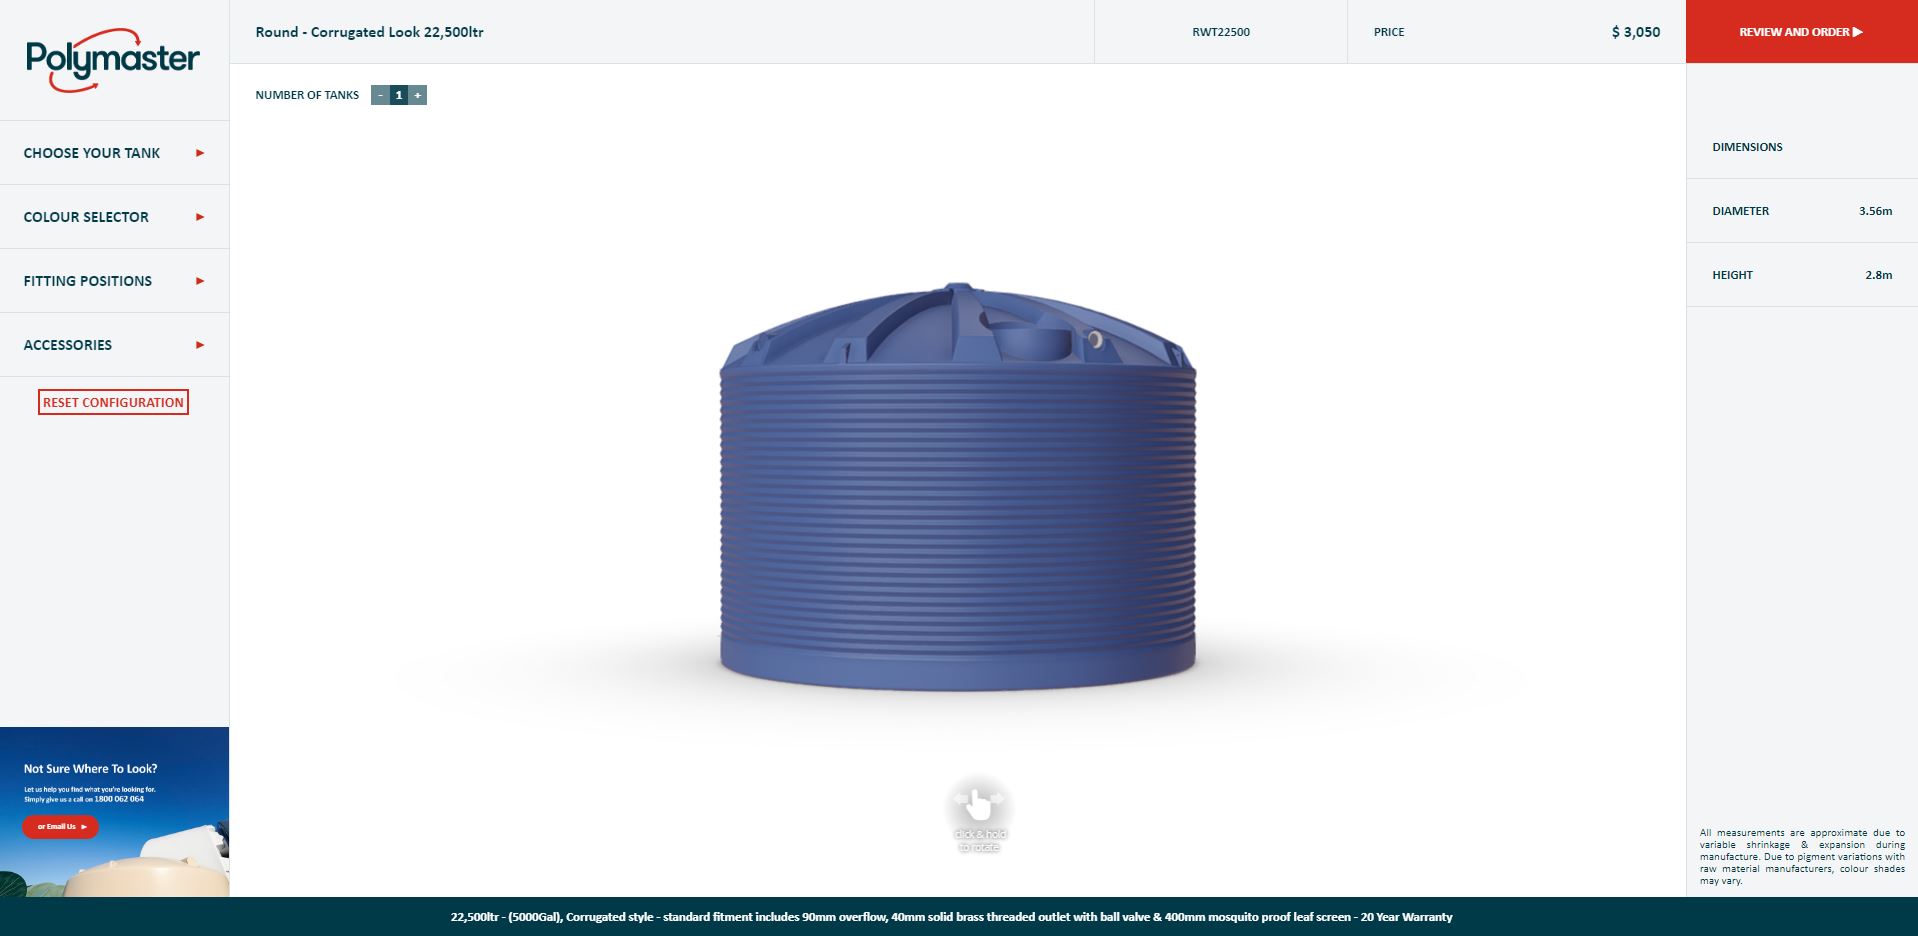
Choose your style, and the measurements are displayed on-screen, including the price. Each tank will also detail out fittings that come standard as well as the warranty period (in the blue bar across the bottom).
For example, the RWT22500 tank is a corrugated tank that comes standard with:
- 90mm overflow
- 40mm solid brass threaded outlet with ball valve
- 400mm mosquito proof leaf screen
- 20yr warranty
- Diameter 3.56m and 2.8m tall
On a side note: when preparing for one of our tanks don’t forget to allow an extra 600mm diameter for the footings of the tank – check out our installation guide for more details.
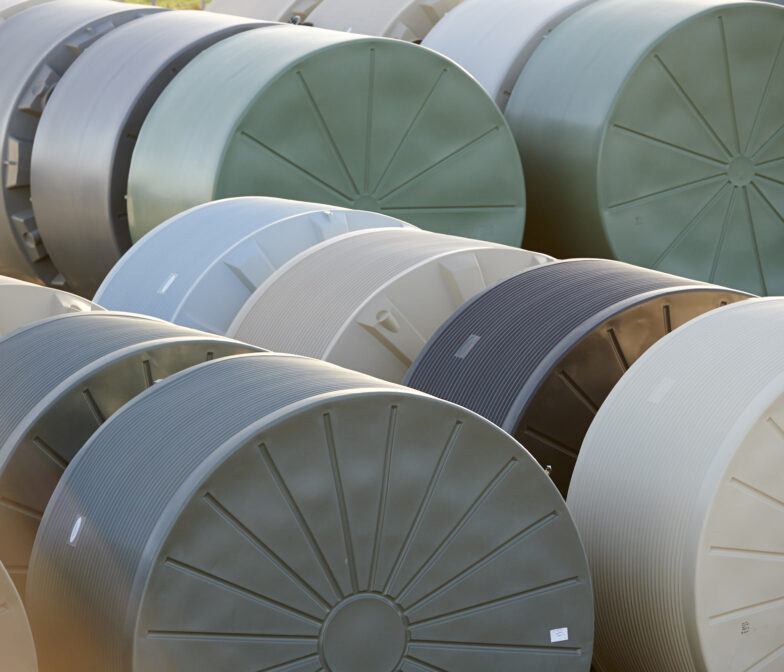
Step 2 – Colour Selector
Now that you have the style and size of the tank, you can choose the perfect colour to match your home. All Polymaster above ground rainwater tanks are available in 22 Colorbond colours with double strength UV+ resin to protect against Australia’s harsh sun.
The colours you see on your screen are as close a match as we can get to the real thing, but either way, they will give you a pretty good appreciation of how your tank can potentially fit in with its new surroundings on the property.
Step 3 – Fitting Positions
This is an important step and often the trickiest (at least the most confusing) of all – until now.
If you’ve never bought a water tank or it’s been a while since your last one, the person at the counter will be asking you some pretty strange questions like:
- Where do you want your overflow positioned? What o’clock is that?
- What about the location of your outlet?
- Do you need a CFA/CFS/RFS fitting?
- Do you need an upgrade?
Have no fear. This step will take away any confusion.
Each tank will have the fittings already positioned on the tank as a ‘standard’ fit-out. From here, you can move them to the position you prefer.
How you do it is easy! Picture where the tank is going on your property; where the downpipe from your roof is coming from and where you are going to draw the water from at the base. Easy peasy!
Step 4 – Accessories
Now, this is super important. Sadly, this step is often forgotten but probably equally as important as the tank itself.
The accessories we’ve highlighted will ensure your water will be looked after even before it reaches your tank. We all want clean, healthy water, so you need to take every step to ensure it is clean and aerated before it is stored.
Take a look at our amazing self-cleaning water filter that aerates the inflow water, requires no electrics and operates automatically whenever it rains. You could also consider a leaf guard or water diverter.
When choosing an accessory, they are matched perfectly to the tank you have selected. So you don’t need to worry that something won’t fit!
There are heaps to take in, so make sure you look at all your options and choose what suits you.
Step 5 – Email yourself
Lastly, download your exact specifications. Everything you have selected will be available; from the tank dimensions to the fitting locations, the colour, product code and all the accessories you’ve chosen.
You can have all this automatically emailed to you and when the time is right, forward this onto your local store (we have over 1400 stores that proudly distribute our tanks).
Don’t know a store? That’s ok because we also have a handy store locator, all you need to do is enter your town/suburb, and it will show the closest one to you.
So, what are you waiting for? Give it a try TODAY!
More Similar News
View all News
How to Choose the Right Water Trough Size for Your Livestock
Plastic Water Tanks